Cart 0

Creating a WordPress website from beginning to end is a project that allows you to easily customize your online presence. With its user-friendly interface, WordPress is an easy-to-use platform that makes creating a website easy. A domain name, web address, and web hosting, or server where your website data is stored, are the requirements to get started. Once you’ve secured this, WordPress can usually be installed by your hosting provider with just one click.
After it’s installed, you can choose the theme that best fits the design and function of your website and then use the user-friendly editor to add your content. It will begin to take shape as you add pages, posts, photos, and plugins to improve functionality on your WordPress site. Install necessary updates and plugins to maintain security and update content regularly. With commitment and imagination, you can create a unique, useful website that fits your goals.
We will guide you through the process of creating a WordPress website in just nine easy steps in this post.
Table of Contents
- Get web hosting and domain name at Bluehost
- Find and Install a WordPress Theme
- Install Plugins
- Configure WordPress Settings
- Create Pages
- Set Up Your Menu
- Write Your First Blog Post
- Market Your Site
1 Get Web Hosting and Domain Name at Bluehost
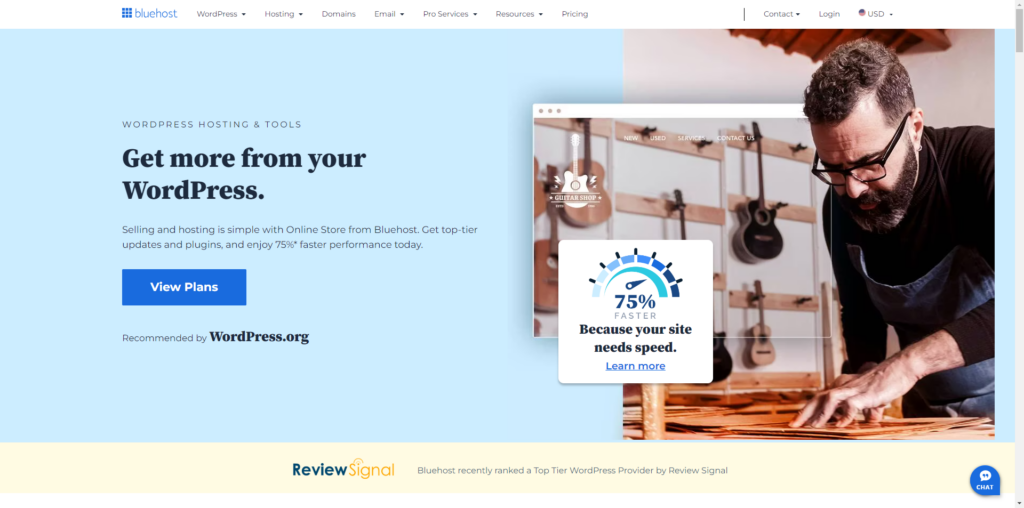
Building up your WordPress website starts with having your domain name and web hosting details by Bluehost. You can now link your domain to your Bluehost web hosting account with this information in hand. Login to the Bluehost dashboard or control panel of your web hosting service and look for the domain or DNS settings management option to perform this. Find the domain settings and make any required modifications to the nameservers to refer to your web host.
Usually, your Bluehost hosting provider provides these nameservers. It could take some time for updates to a nameserver to propagate throughout the Internet. DNS propagation is the mechanism that makes it possible for your domain to correctly link to your web hosting. You’ll be prepared to install WordPress on your hosting account and begin developing your website when the offer is over.
2. Find and Install a WordPress Theme

To find and install a WordPress theme, start by logging into your WordPress dashboard. From there, navigate to the “Appearance” section and click on “Themes.” Here, you will find a collection of free and paid themes available in the WordPress repository. You can search for themes based on specific features, genres, or industries. Once you find a theme that suits the look and functionality of your website, click the “Install” button.
If you have a premium (paid) theme, you can upload it directly by clicking the “Upload Theme” button and selecting the theme file from your computer. Once uploaded, activate the theme to apply it to your website. Customizing your chosen theme can be done through the WordPress Customizer, which lets you personalize colors, fonts, layouts, and other design elements to match your preferences.
3. Install Plugins
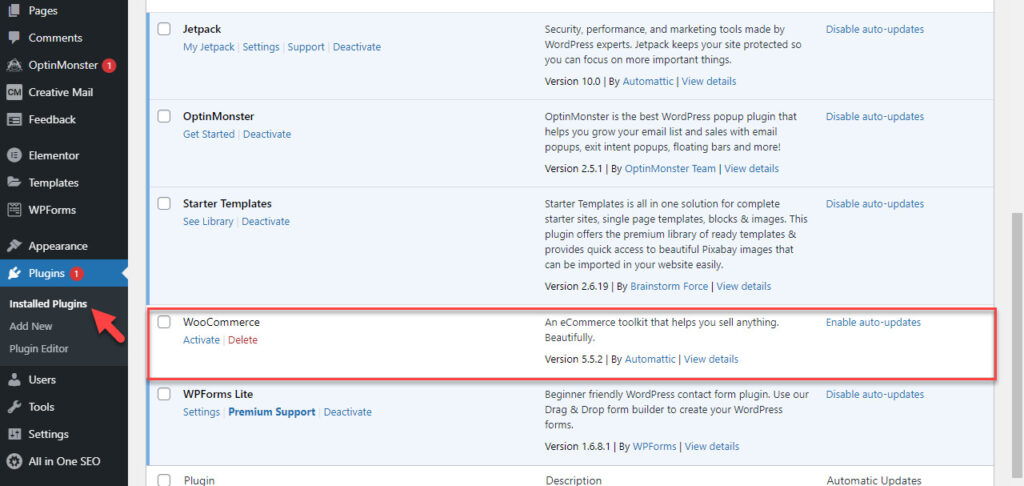
To install plugins on your WordPress website, start by logging into your WordPress dashboard. From there, navigate to the “Plugins” section and click “Add New“. You will find a large library of free and premium plugins available in the WordPress repository. If you have a specific plugin, you can find it using the search bar.
Once you’ve found the plugin you want to install, click the “Install Now” button. WordPress will then download and install the plugin for you. After the installation is complete, you will see an “Activate” button – click on it to activate the plugin.
If you have a premium plugin that you obtained from a third-party source, you can install it by clicking the “Upload Plugin” button and selecting the plugin file (.zip format) from your computer. After uploading, activate the plugin to start using its features.
4. Configure WordPress Settings
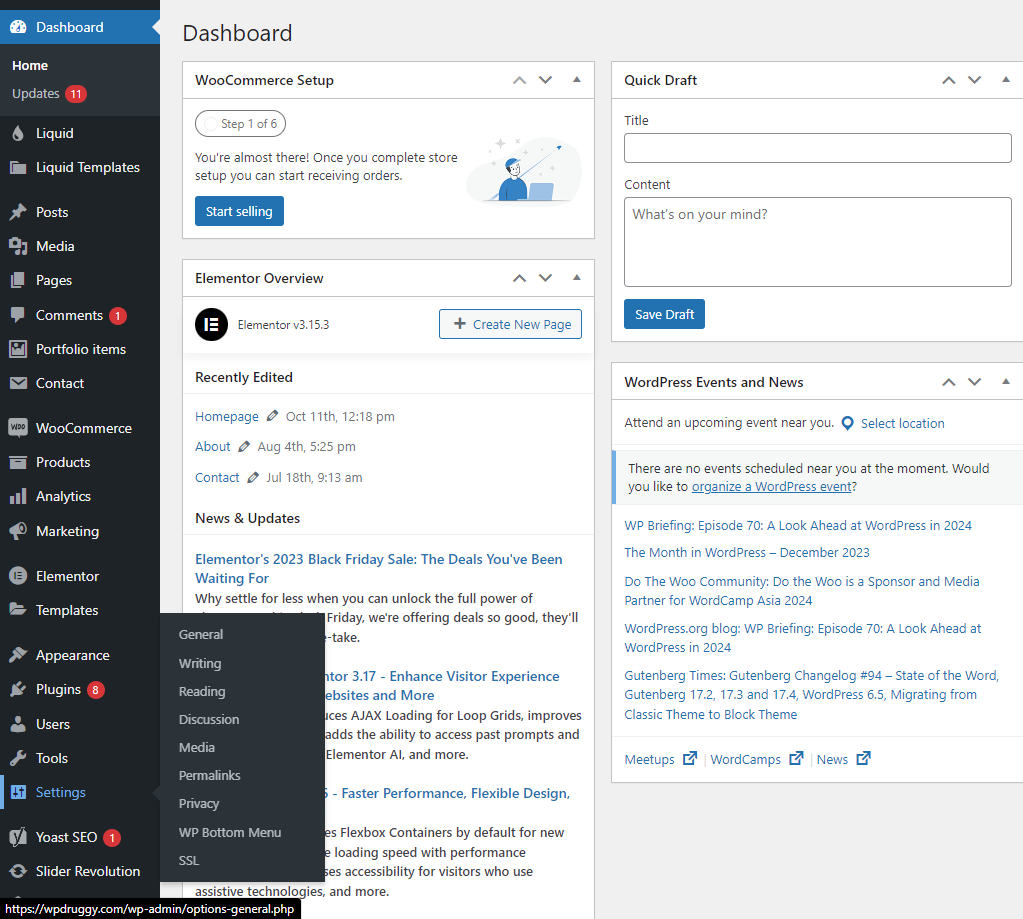
Configuring WordPress settings is an essential step in personalizing your website and optimizing its functionality. To access WordPress settings, log into your WordPress dashboard and find the “Settings” option on the left-hand menu. Here, you will find various settings sections to customize different aspects of your site.
General Settings: In this section, you can set your site’s title, tagline, and URL. You can also specify a time zone, date format, and language preferences.
Post Settings: Configure default settings for post creation, such as default category and post format. You can also set remote publishing options if needed.
Reading Settings: Determine how your site displays content. You can set a static homepage or choose the latest blog posts as your homepage. Additionally, configure the number of posts to display on blog pages.
Discussion Settings: Manage settings related to comments on your site. Control comment moderation, decide whether to allow comments on posts, and set notification settings.
Media Settings: Define sizes for uploaded images and media. WordPress generates multiple image sizes and you can specify the parameters here.
Permalinks: Customize your URL structure. Choose a permalink structure that is both SEO-friendly and suits your content organization.
5. Create Pages

It’s time now to work on your web pages, which are the main components of websites. A typical business website, for instance, has several pages, including the homepage, services, pricing, about, and contact. Any page in WordPress that isn’t an article or blog post is referred to as a page.
Here’s how to use WordPress to build and/or customize pages:
- Click on “pages” using the vertical menu on the left side of the WordPress dashboard.
- Then select “add new” to start a new page.
- Go to “all pages,” locate the page in the list of pages, and select “edit” to make changes to an already existing page.
- If you installed a page builder plugin, select the option at the top to edit with the page builder (e.g., “edit with Elementor”).
- Write your site copy and customize your pages
- When you’re finished, click publish.
- Repeat these steps for any other pages you want to create.
6. Set Up Your Menu
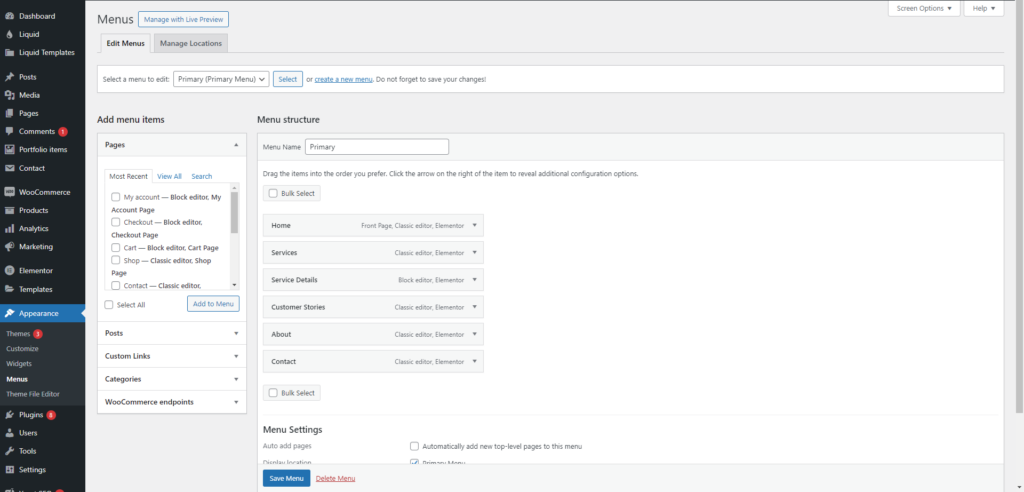
Create and configure your menu now that your pages are configured. This is how users navigate your website, thus there may be more than one menu (for example, a menu at the top and one at the bottom) depending on your theme.
This is how to set up the menu on your website:
- Navigate to “menus” under “appearance” from your dashboard.
- Choose the page from the list on the left to add it.
- To rearrange your menu or to arrange pages as sub-pages beneath other pages, click and hold the pages.
- Select “Save Changes.”
Once your menu is configured, check the “menu settings” area by scrolling down the same page. Make sure to check the box next to “primary” under “display location.” This will make the menu the primary menu for your website, appearing in your header.
7. Write Your First Blog Post
Many companies choose to include blog posts in addition to web pages to increase the possibility that they will be discovered by search engines like Google. Click “add new” after selecting “posts” from the vertical menu on the left to begin writing a blog post. You can then make changes to the blog post just like you would to a web page. Another difference is that you can write a blog post and schedule it for publication at a later time, which is not possible with a page.
Here’s how to use WordPress to write a blog post:
- From the dashboard’s left side, select “posts,” then click “add new.”
- Enter the name of the post.
- Select the category that it relates to.
- Write the content.
- Once you’re done, click “publish.”
8. Market Your Site
Not to mention, you need to prepare a marketing strategy for your website. The reason is that creating a website is not always a case of “build it and they will come.” Rather, companies that are visible online are those who have made investments in a range of internet marketing techniques to increase their website’s exposure, which will help attract customers to your website.
The following are some of the best strategies for website marketing:
- For a faster ranking, submit your URL to Google Search Console.
- Make social media profiles for your website (such as a Facebook business page, an
- Instagram account, or a Pinterest business account) and add links to them in your postings.
- Add your website to pertinent internet directories.
- Create a Google My Business profile to appear in local search results.
- Become a Better Business Bureau member for your company.
- Include the URL of your website in your business cards, emails, and other marketing materials.
Using one or more of these strategies is the most effective way to market a website as it will maximize visibility and increase the likelihood of it getting discovered online.
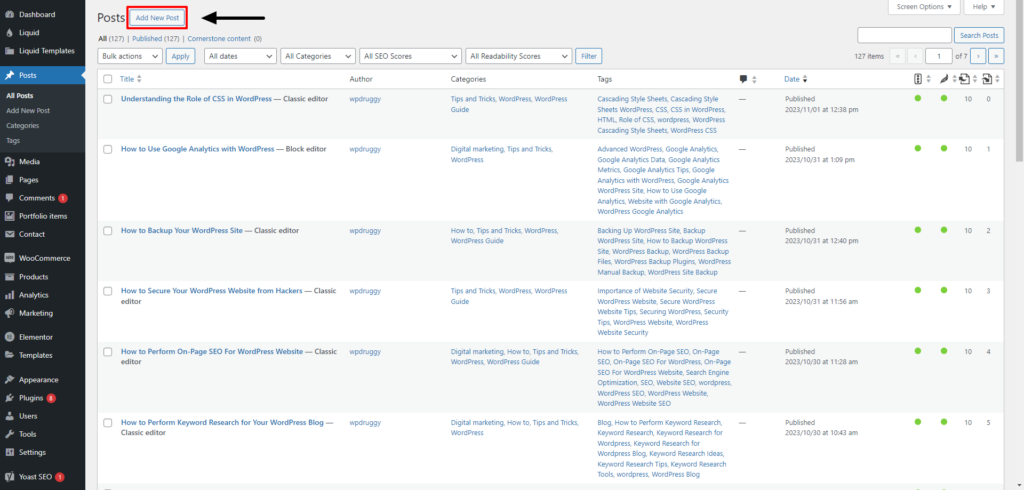
Read More Relevant Articles
- How to Use Google Analytics with WordPress
- Understanding the Role of CSS in WordPress
- How to Use Google Analytics with WordPress
- How to Backup Your WordPress Site
- How to Secure Your WordPress Website from Hackers
- How to Perform On-Page SEO For WordPress Website
- How to Perform Keyword Research for Your WordPress Blog
- How to Optimize Images SEO For WordPress Website
- Advanced SEO Tips for WordPress Websites
- How to Do Local SEO for Your WordPress Website
The Final Thought
At first, creating a WordPress website from scratch may seem stressful but if you follow these detailed instructions, you’ve already completed the most important step of establishing your online identity. Because WordPress provides an exceptionally flexible platform that is easy to use, scalable, and customizable, it is a preferred option for both novice and expert users.
You acquired knowledge of important procedures including registering a domain name and paying for hosting, setting up WordPress, choosing and modifying a theme, installing necessary plugins, building pages and posts, and search engine optimizing your website through this tutorial.

