Cart 0
Introduction
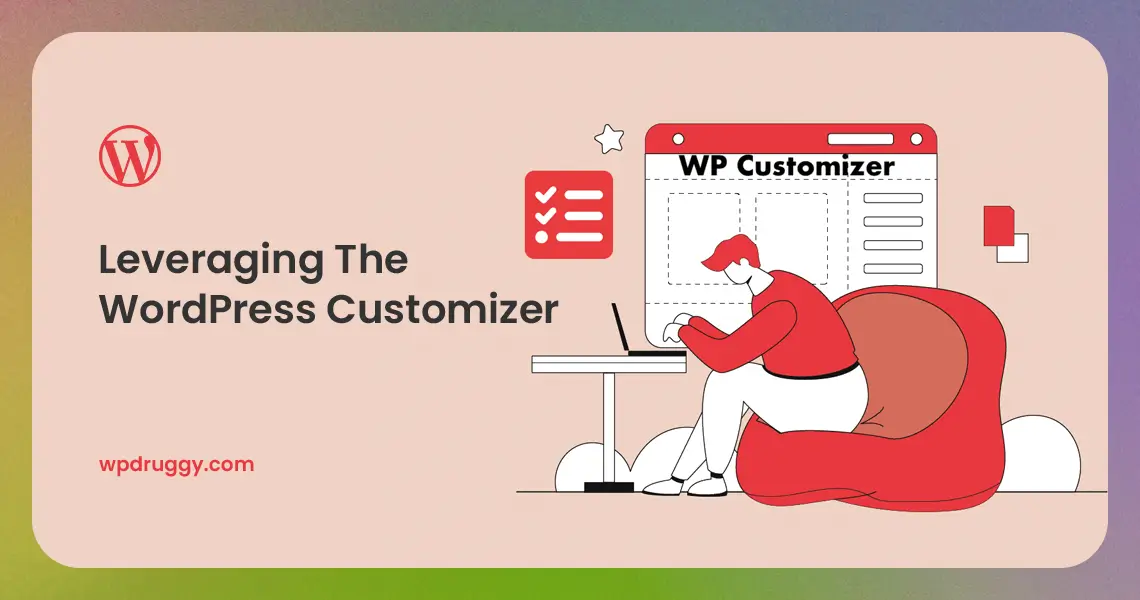
The WordPress Customizer is a powerful and user-friendly tool that empowers website owners to customize the appearance and functionality of their websites without the need for coding knowledge. With the Customizer, you can modify themes, add widgets, adjust colors, and perform various other customizations in real time. In this comprehensive guide, we will explore the ins and outs of the WordPress Customizer, demonstrating how to leverage its features to create a unique and visually appealing website. Whether you are a beginner or an experienced WordPress user, this guide will equip you with the skills to harness the full potential of the Customizer and enhance your website to reflect your brand and vision.
Why Leverage the WordPress Customizer?
Before we dive into the technicalities, let’s understand why the WordPress Customizer is essential for website customization.
1. Real-Time Customization
The Customizer allows you to view changes instantly, ensuring that you can experiment and fine-tune the design of your website with immediate feedback.
2. No Coding Required
Even if you have little or no coding experience, the Customizer provides an intuitive interface to make design modifications effortlessly.
3. Theme and Plugin Compatibility
Most modern WordPress themes and plugins are fully compatible with the Customizer, making it a universal tool for website customization.
4. Preview and Publish
The Customizer enables you to preview changes before publishing, allowing you to see how your website will look to visitors.
Getting Started with the Customizer
To start using the Customizer, log in to your WordPress dashboard. Then, follow these simple steps:
1. Click on “Appearance” in the left menu.
2. Select “Customize.” This will open the Customizer on the right side of your screen.
Now, you’re ready to make some changes!
Customizing Your Site’s Title and Tagline
Let’s start by making your site’s title and tagline look super cool. Click on “Site Identity” in the Customizer, and you can change the text and even upload a custom logo if you have one.
Customizing Colors
Colors make your website pop! In the Customizer, look for “Colors.” You can change the color of text, backgrounds, links, and more. Just click and pick the colors you like.
Customizing Fonts
Fonts are like the style of your website’s writing. In the Customizer, find “Typography” or “Fonts.” You can change the font style and size to make your text look just the way you want it.
Customizing Backgrounds
A background is like the wallpaper of your website. You can find the “Background Image” option in the Customizer. You can upload an image or choose a color for your background.
Customizing Menus
Menus are like the navigation guides for your website. In the Customizer, go to “Menus.” You can create new menus, add pages, and rearrange them to make your website easy to explore.
Preview Changes in Real-Time
The fantastic thing about the Customizer is that you can see your changes as you make them. If you don’t like something, just click “Cancel” to go back to how it was. If you’re happy with the changes, click “Publish” to make them live on your website.
Customizing Widgets
Widgets are like little tools you can add to your website. In the Customizer, click on “Widgets.” You can add things like a search bar, social media links, or recent posts to your site.
Customizing the Homepage
Your homepage is like the welcome mat of your website. In the Customizer, go to “Homepage Settings.” You can choose to show your latest posts or a specific page as your homepage.
Customizing Header and Footer
The header is like the top part of your website, and the footer is at the bottom. You can customize these parts in the Customizer too. You can add a header image or change the layout of the footer.
Don’t Forget to Save!
As you’re having fun making changes, don’t forget to click “Save & Publish” in the Customizer to keep all your hard work. This way, everyone who visits your website will see the awesome improvements you’ve made.
Step-by-Step Guide to Leveraging the WordPress Customizer
Now that we appreciate the advantages, let’s walk through the step-by-step process of leveraging the WordPress Customizer.
Step 1: Access the Customizer
In your WordPress dashboard, navigate to “Appearance” and click on “Customize” to access the Customizer.
Step 2: Choose Your Active Theme
Select the active theme you want to customize. The available customization options will depend on the features offered by your theme.
Step 3: Site Identity and Logo
Under the “Site Identity” section, you can upload your website’s logo, set a site title and tagline, and customize the site icon (favicon).
Step 4: Customize Colors and Fonts
Most themes offer options to customize colors and fonts. Modify the text and link colors, headings, and paragraph fonts to match your brand’s aesthetics.
Step 5: Header and Background
Customize the header image, header video, or header text to create a visually engaging header section. You can also set a background image or color.
Step 6: Menus and Navigation
Create and manage menus for your website, such as the primary navigation menu, footer menu, or mobile menu.
Step 7: Widgets and Sidebars
Add widgets to your website’s sidebars or footer. You can include popular widgets like recent posts, search bar, categories, and social media links.
Step 8: Homepage Settings
Depending on your theme, customize the display of your homepage. Choose between a static page or the latest posts as your homepage.
Step 9: Additional CSS
For users familiar with CSS, the Customizer provides an “Additional CSS” section to add custom code and make more advanced design changes.
Step 10: Preview and Publish
Preview your changes in real-time to see how they will look to your website’s visitors. Once you are satisfied, click “Publish” to apply the changes to your live website.
Best Practices for Leveraging the WordPress Customizer
To make the most of the WordPress Customizer, follow these best practices:
1. Keep It Simple
Avoid overwhelming your website with too many customizations. Stick to a cohesive design that aligns with your brand’s identity.
2. Optimize for Mobile
Test your customizations on various devices, ensuring that your website looks great and functions well on mobile devices.
3. Test Incrementally
Make changes in small increments, previewing each change before publishing. This approach allows you to identify any issues early on.
4. Backup Your Website
Before making significant customizations, back up your website to safeguard against accidental data loss.
Read this: Building a Mobile App with WordPress
Conclusion
The WordPress Customizer is a valuable tool that empowers website owners to personalize and fine-tune their websites without the need for coding expertise. By following this step-by-step guide and adhering to best practices, you can leverage the Customizer to create a visually stunning and user-friendly website that resonates with your audience. Experiment with colors, fonts, widgets, and other customizations to craft a unique online presence that leaves a lasting impression on your visitors. Embrace the power of the WordPress Customizer, and unlock the full potential of your website, transforming it into a captivating and engaging platform for your audience. So, start customizing, and let your creativity and vision shine through your WordPress-powered website!

