Cart 0

WordPress is frequently employed to create blog articles and pages for your site. However, some users may need to create a second static HTML page and make it available alongside their main WordPress site.
The problem is that WordPress does not recognize this page, therefore it may display a 404 error. In this tutorial, we’ll show you how to submit an HTML page to WordPress without generating a 404 error.
Why Upload HTML Pages to WordPress?
WordPress provides a built-in content type for adding pages to your website. WordPress themes frequently use pre-designed page templates to display your pages.
A WordPress landing page plugins offer drag-and-drop functionality for creating stunning page templates. This means that, in most cases, you should not have to upload an HTML page to your WordPress site.
However, you may have static HTML pages from your previous website or a static template that you like and wish to use. In some cases, you’ll have to upload your HTML page to WordPress. WordPress has its own SEO-friendly URL structure, so just uploading your HTML page and attempting to view it may result in a 404 error.
That being stated, let’s take a look at how to submit an HTML page to your WordPress site without generating 404 errors.
Uploading HTML Page to WordPress Site
First, you must prepare the HTML page you intend to upload. If it is a single HTML page without any separate CSS or picture files, you can upload it as is.
However, if the page you wish to submit has distinct CSS files and images, you must arrange them in a directory. Ideally, you would save your files in a folder on your computer.

Don’t forget to open your main HTML file to make sure that everything works properly. Next, connect to your WordPress site via an FTP program or the File Manager tool in your hosting account’s control panel.
After that, upload the previously created folder to the root folder of your WordPress website. The root folder contains the folders wp-admin, wp-content, and wp-includes.
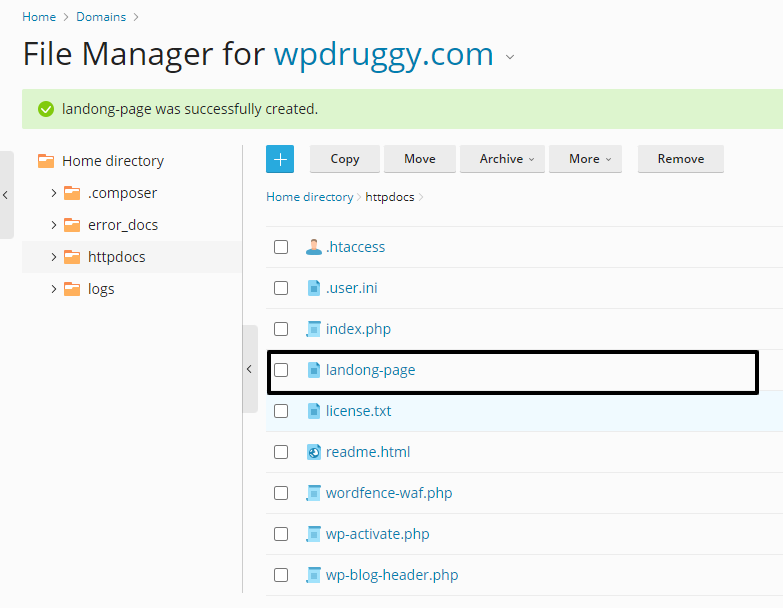
After uploading your files, navigate to your website and view your HTML page.
If you uploaded a folder containing HTML, CSS, and picture files, you must append the name of the folder to the end of your website address, as seen below:
The main HTML file in your folder should be named index.html. Otherwise, you will need to include the name of the HTML file.
However, if you uploaded a single HTML file, simply add the HTML filename to the end of your website address:
Troubleshooting HTML Page Upload in WordPress
Normally, you should be able to view your HTML page by going to the page or folder itself.
However, depending on the rewrite rules used by WordPress or your web server, you may see several common WordPress issues.
How to Fix 404 Errors After Uploading HTML Pages in WordPress
The 404 error is among the most common WordPress issues. However, it is usually simple to correct.
If you receive a 404 error after uploading your HTML page, just add a rewrite rule to your .htaccess file:
RewriteRule ^(.*)index\.(php|html?)$ /$1 [R=301,NC,L]Fixing the 403 Error After Uploading an HTML Page in WordPress
A 403 error may also be caused by file permissions on your newly uploaded HTML page or folder.
Simply connect to your website using an FTP program and choose the HTML page or folder you uploaded.
Next, right-click and select ‘File permissions’ in your FTP client.
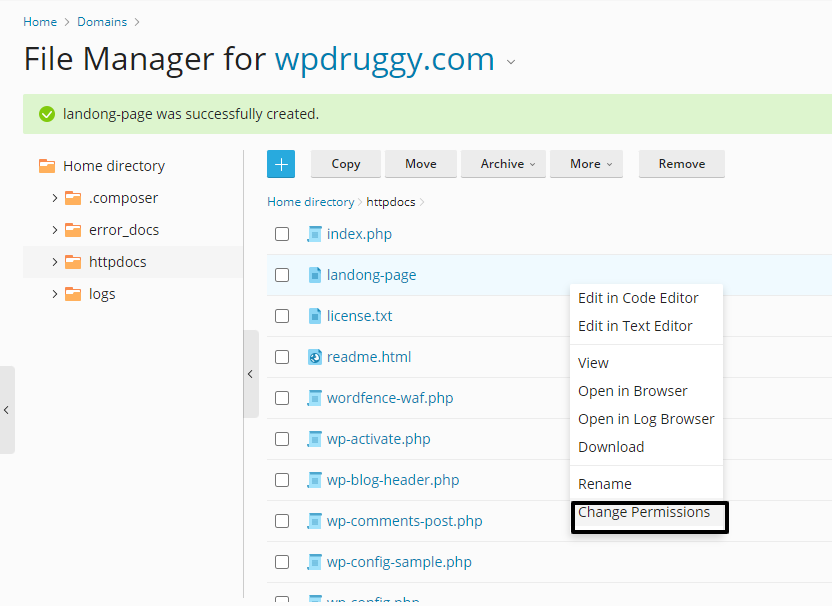
This will display a file permissions popup. Enter ‘755’ in the numeric value field and select the ‘Recurse into subdirectories’ option.
Select the ‘Apply to all files and folders’ option underneath and click the ‘OK’ button.

This will change the file permissions for your HTML upload folder and all of the files and folders within it.
Adding Custom HTML Pages to XML Sitemaps
Now that you’ve published your HTML page, it’s time to notify search engines that it’s part of your site.
The easiest approach to achieve this is to include it in your website’s XML sitemaps.
If you haven’t already set up sitemaps, see our post on how to install XML sitemaps in WordPress.
First, install and activate the Yoast SEO for WordPress plugin. For additional information, visit our article on how to install WordPress plugins.
Once activated, navigate to the Yoast SEO » Sitemaps page. On the General Settings tab, ensure that the ‘Enable Sitemap’ option is switched on.
Read More Relevant Blogs
- How to Fix PHP Missing MySQL Extension Error in WordPress
- How to Add a Custom Database Error Page in WordPress
- Top 9 Reasons WordPress Websites Get Hacked: How to Stay Safe
- How to Create Custom RSS Feed in WordPress
- How to Allow Users to Post Anonymous Comments on WordPress
- How to Add Ads Within Your Post Content in WordPress
- How to Fix WordPress Keeps Logging Out Problem
- What is an SEO Friendly URL Structure in WordPress
- How to Display Related Posts by the Same Author in WordPress
- How to Ask Google to Recrawl URLs of Your WordPress Site
The Wrapping Up
Uploading an HTML page to WordPress without encountering 404 errors involves several crucial steps. Ensure you correctly upload the HTML file to the appropriate directory in your WordPress hosting server, typically within the wp-content or public_html folder. Verify that the file permissions are set correctly to make the file accessible. Adjust the WordPress permalink settings if necessary to prevent conflicts.
Additionally, double-check the file path and URL to ensure they align with the server’s structure. Following these steps meticulously will help you integrate your HTML page seamlessly into your WordPress site, avoiding the common pitfalls that lead to 404 errors.

