Cart 0
Is it difficult for you to send or receive emails from your WordPress website? Using outside email providers such as Mailgun is one way to get around it. These services will, however, come at an additional expense. We’ll walk you through using an SMTP server to send WordPress emails in this tutorial.
The Problem with Emails on WordPress
WordPress sends emails using PHP’s mail function. To avoid assault several shared hosting companies have either disabled this feature or completely removed it. This results in the delivery of your WordPress emails being blocked in both cases.
Using a third-party email service to send your emails is an alternative method. You can use Sendgrid, Google Apps for Work, and Mailgun.
Your account will cost you money, and the amount will change according to how many users or accounts you create and how many emails you send. Check out our guide on resolving the WordPress email not sending problem.
What if we told you that you are probably already paying for the alternative?
Using Your Host’s Email Accounts
For every domain you host with them, the majority of WordPress hosting companies give email services. This implies that you can set up email addresses such as yourname@yoursite.com using your domain name.
You must first set up an email account. We will show how to set up an email account in cPanel for this example. The fundamental procedure is the same for most hosting services, but your provider might use a different account management system.
Navigate to the main area of your hosting account and select email accounts.
This will display a straightforward form that you must complete with the details needed to set up your email account.
We advise you to create an email address such as wordpress@example.com, since we will be using this account to send WordPress emails. Be sure to use your domain name in place of example.com.
You are now ready to use your newly created email account in WordPress. You will need the following details from your hosting provider before you can proceed, though.
- For your email address, the SMTP host.
- Secure login over the SMTP port.
To find out this information, visit the support section of your host’s website. This information will probably be included in an article should you not.
Using WordPress with Your Customized Email Address
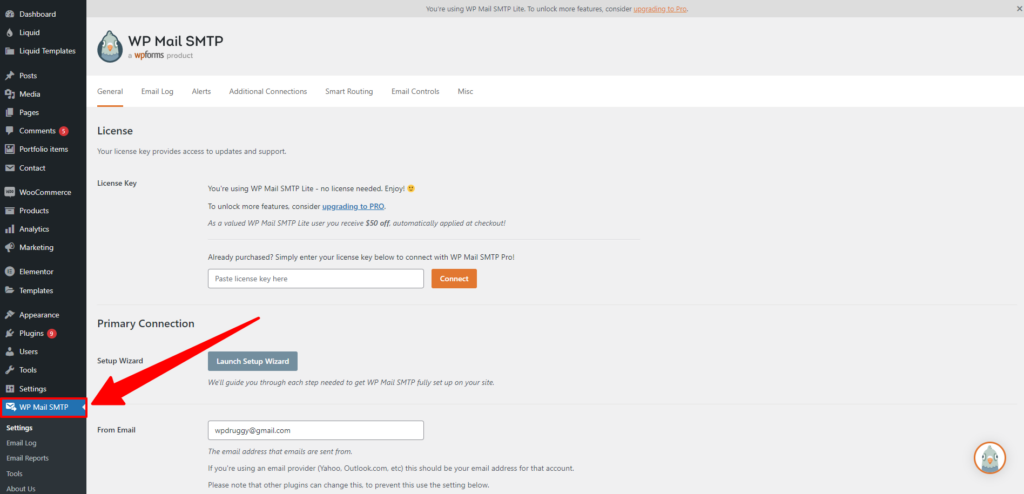
The WP Mail SMTP plugin needs to be installed and enabled at this point. for additional information.
To adjust the plugin settings after activation, go to Settings » Email.
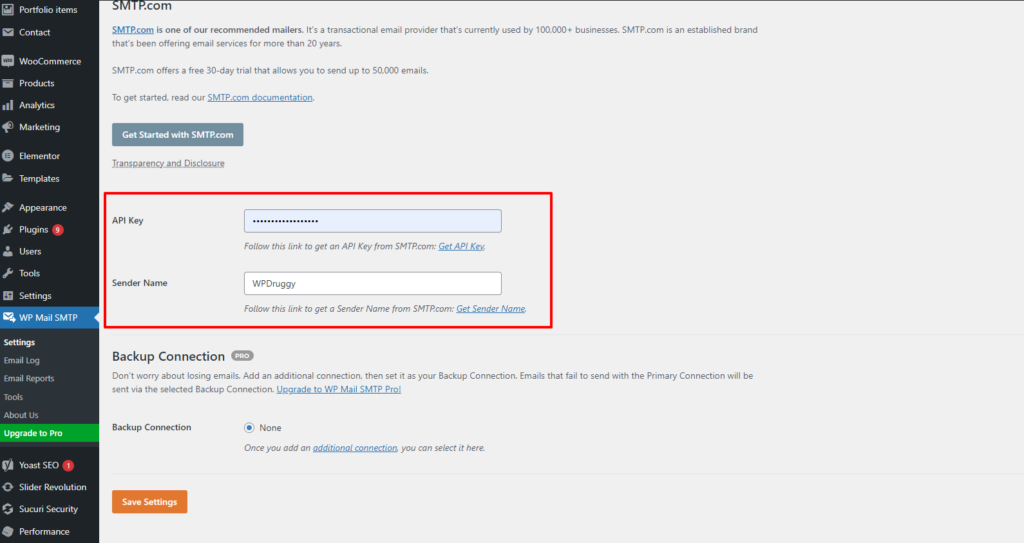
You must first input the newly established email address. The form name, which will be used as the sender name, can then be added.
If you omit a from name, the plugin will use WordPress’ default.
Selecting the mailer is the next step. To choose it, simply pick the “Other SMTP” option.

Next, you must select the option marked “Return Path” by checking the box. This setting links the return path with the email address of the sender.
The next step is to configure SMTP settings.
Your SMTP host and port must be provided first. Your hosting company can give you this information. The standard SMTP host is mail.yourdomain.com; you can use any domain name in place of yourdomain.com. Port 465 is frequently used for SMTP.
The next step is to select the encryption. The majority of WordPress hosting providers enable TLS and SSL. When the TLS option is available, we advise choosing it.
Subsequently, enable the authentication toggle and input your SMTP login credentials. Typically, your SMTP username is the same as your email address.
It is not secure for your password to be kept in plain text format. Don’t worry; we’ll explain how to make this article more safe later on.
Testing Your SMTP Settings
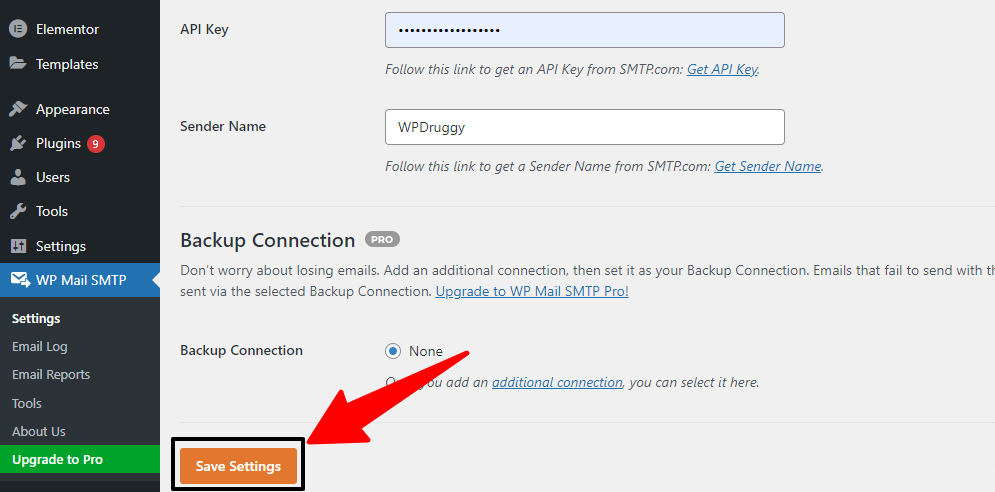
After configuring WordPress Mail SMTP to send emails, let’s make sure everything is operating as it should. Click the “Save Setting” option on the plugin’s settings page.
If you would want to receive test emails, you must enter an email address. Any working email account that you have access to maybe this. Next, to proceed, click the Send Email button.
With the SMTP settings you previously supplied, WP Mail SMTP will now send an email message.
Keeping Your Password Secure on Email
The WP MAIL SMTP settings may require you to input the password for your email account. It is risky to store this password in plain text format.
But the plugin also gives you the choice to strengthen its security. You must add some code to your wp-config.php file to accomplish that. Please go to our instructions on editing the WordPress wp-config.php file if you haven’t done so previously.
The first step is to use an FTP client or the File Manager application in cPanel to connect to your website. Your website’s root folder contains your wp-config.php file, which you may locate once connected.
Any plain text editor, such as Notepad or TextEdit, can be used to edit this file.
Find the line that ends, “That concludes editing! Add the following code just before it and enjoy blogging.
1. define( 'WPMS_ON', true );
2. define( 'WPMS_SMTP_PASS', 'your_password' );
Remember to enter your actual SMTP password instead of “your_password.” Save your wp-config.php file after that, then upload it back to the server.
You may now access the Settings » WP Mail SMTP page by going to your WordPress admin area.
Remember to click the “Save Settings” button to save your modifications.
Troubleshooting WordPress Email Problems
The most frequent cause of SMTP email-sending failures is utilizing the wrong SMTP host or port. Verify that the host and port numbers you are supplying are those that your hosting provider has provided.
Make sure you choose the appropriate encryption technique.
Read More Relevant Articles
- A Comprehensive Guide to .htaccess File in WordPress
- How to Install a WordPress Child Theme
- How to Set Up a WordPress Website: A Step-by-Step Guide
- Understanding the Role of CSS in WordPress
- How to Use Google Analytics with WordPress
- How to Backup Your WordPress Site
- How to Secure Your WordPress Website from Hackers
- How to Perform On-Page SEO For WordPress Website
- How to Perform Keyword Research for Your WordPress Blog
- How to Optimize Images SEO For WordPress Website
The Final Conclusion
In conclusion, configuring your WordPress site to use an SMTP server for sending emails is a crucial step to ensure reliable email delivery. By using an SMTP server, you enhance the chances of your emails reaching their intended recipients’ inboxes without being flagged as spam. This method provides a more secure and efficient way of handling email delivery compared to relying solely on the default mail function of your web server.
Remember to choose a reputable SMTP service provider, obtain the necessary credentials (such as SMTP server address, port, username, and password), and configure your WordPress site accordingly. This process typically involves installing and configuring a plugin that supports SMTP functionality.

